Cake pops have become the newest pretty treat for celebrations. I imagine this is partially due to their size but also because each pop can be uniquely decorated to meet the needs of almost any party. It helps that they taste good too. So when my daughter asked for cake pops, we decided to try our hand at making them ourselves. We started out with our ingredients which included:
A standard over-the-counter boxed cake mix
Three eggs
½ a cup of oil
1 cup of water,
Several bars of white chocolate
The cake pop sticks
And other items for decorating.


To start, we followed the directions on the cake mix box and prepared our chocolate cake mix.
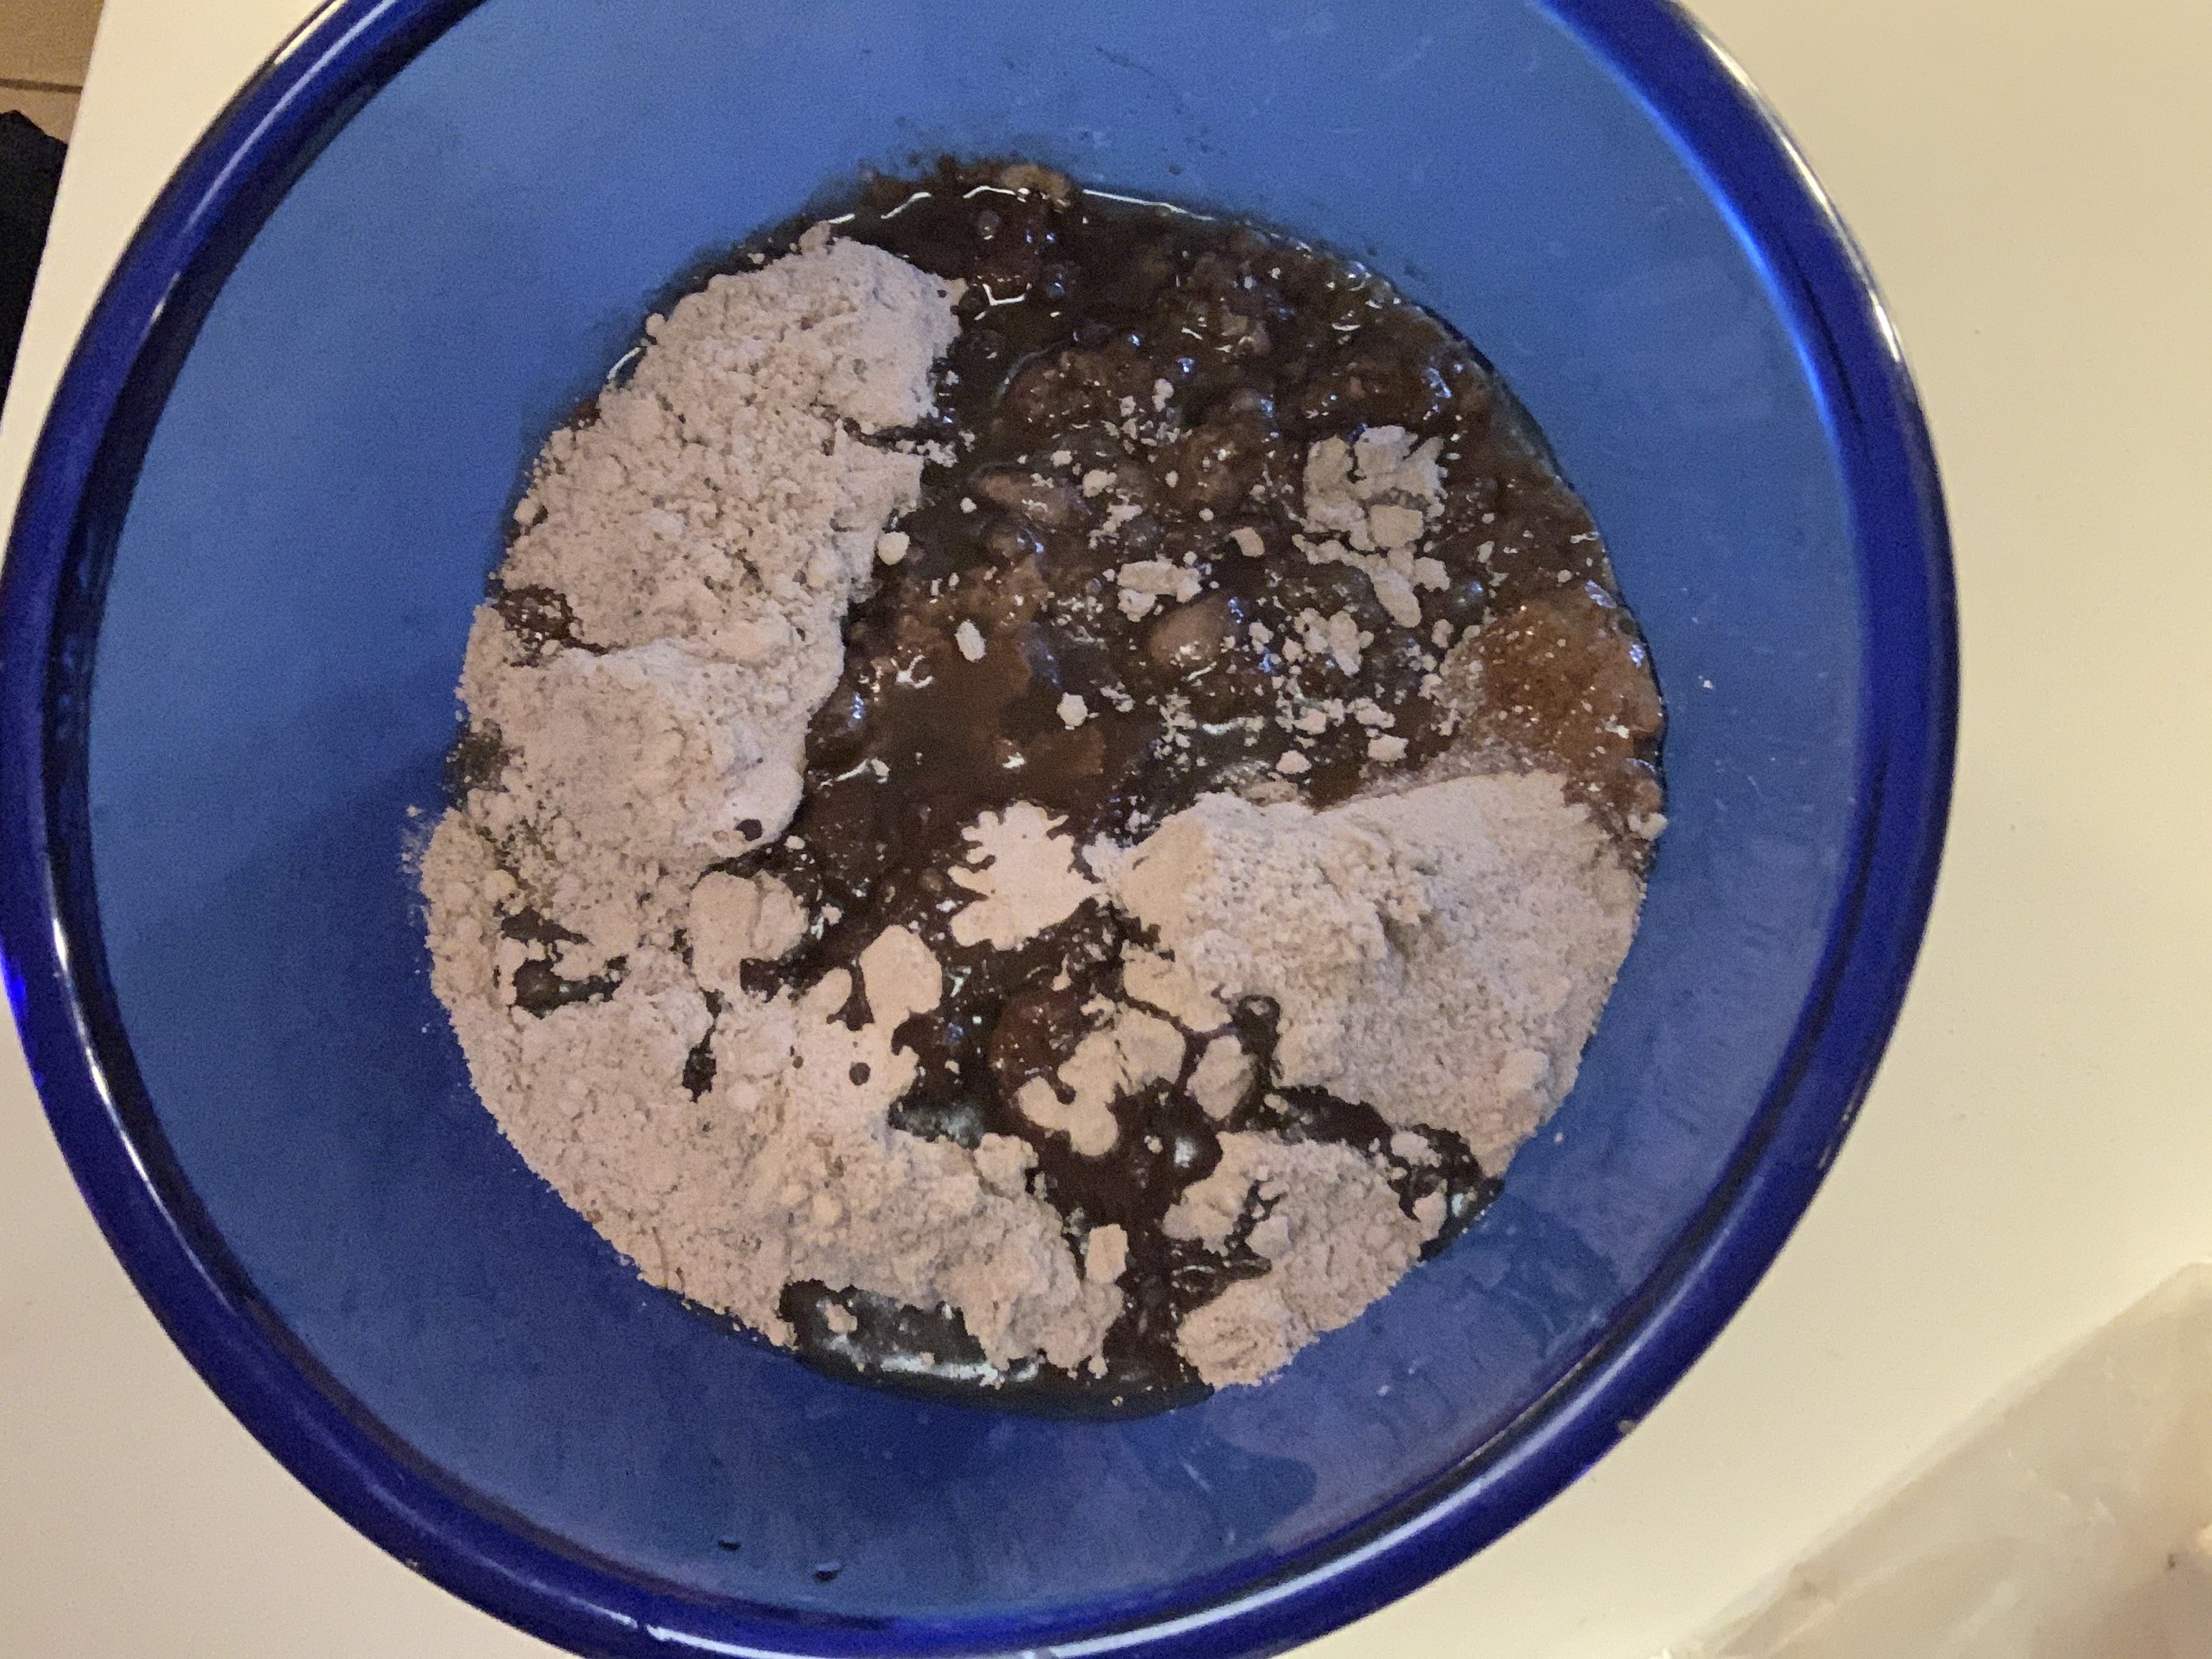

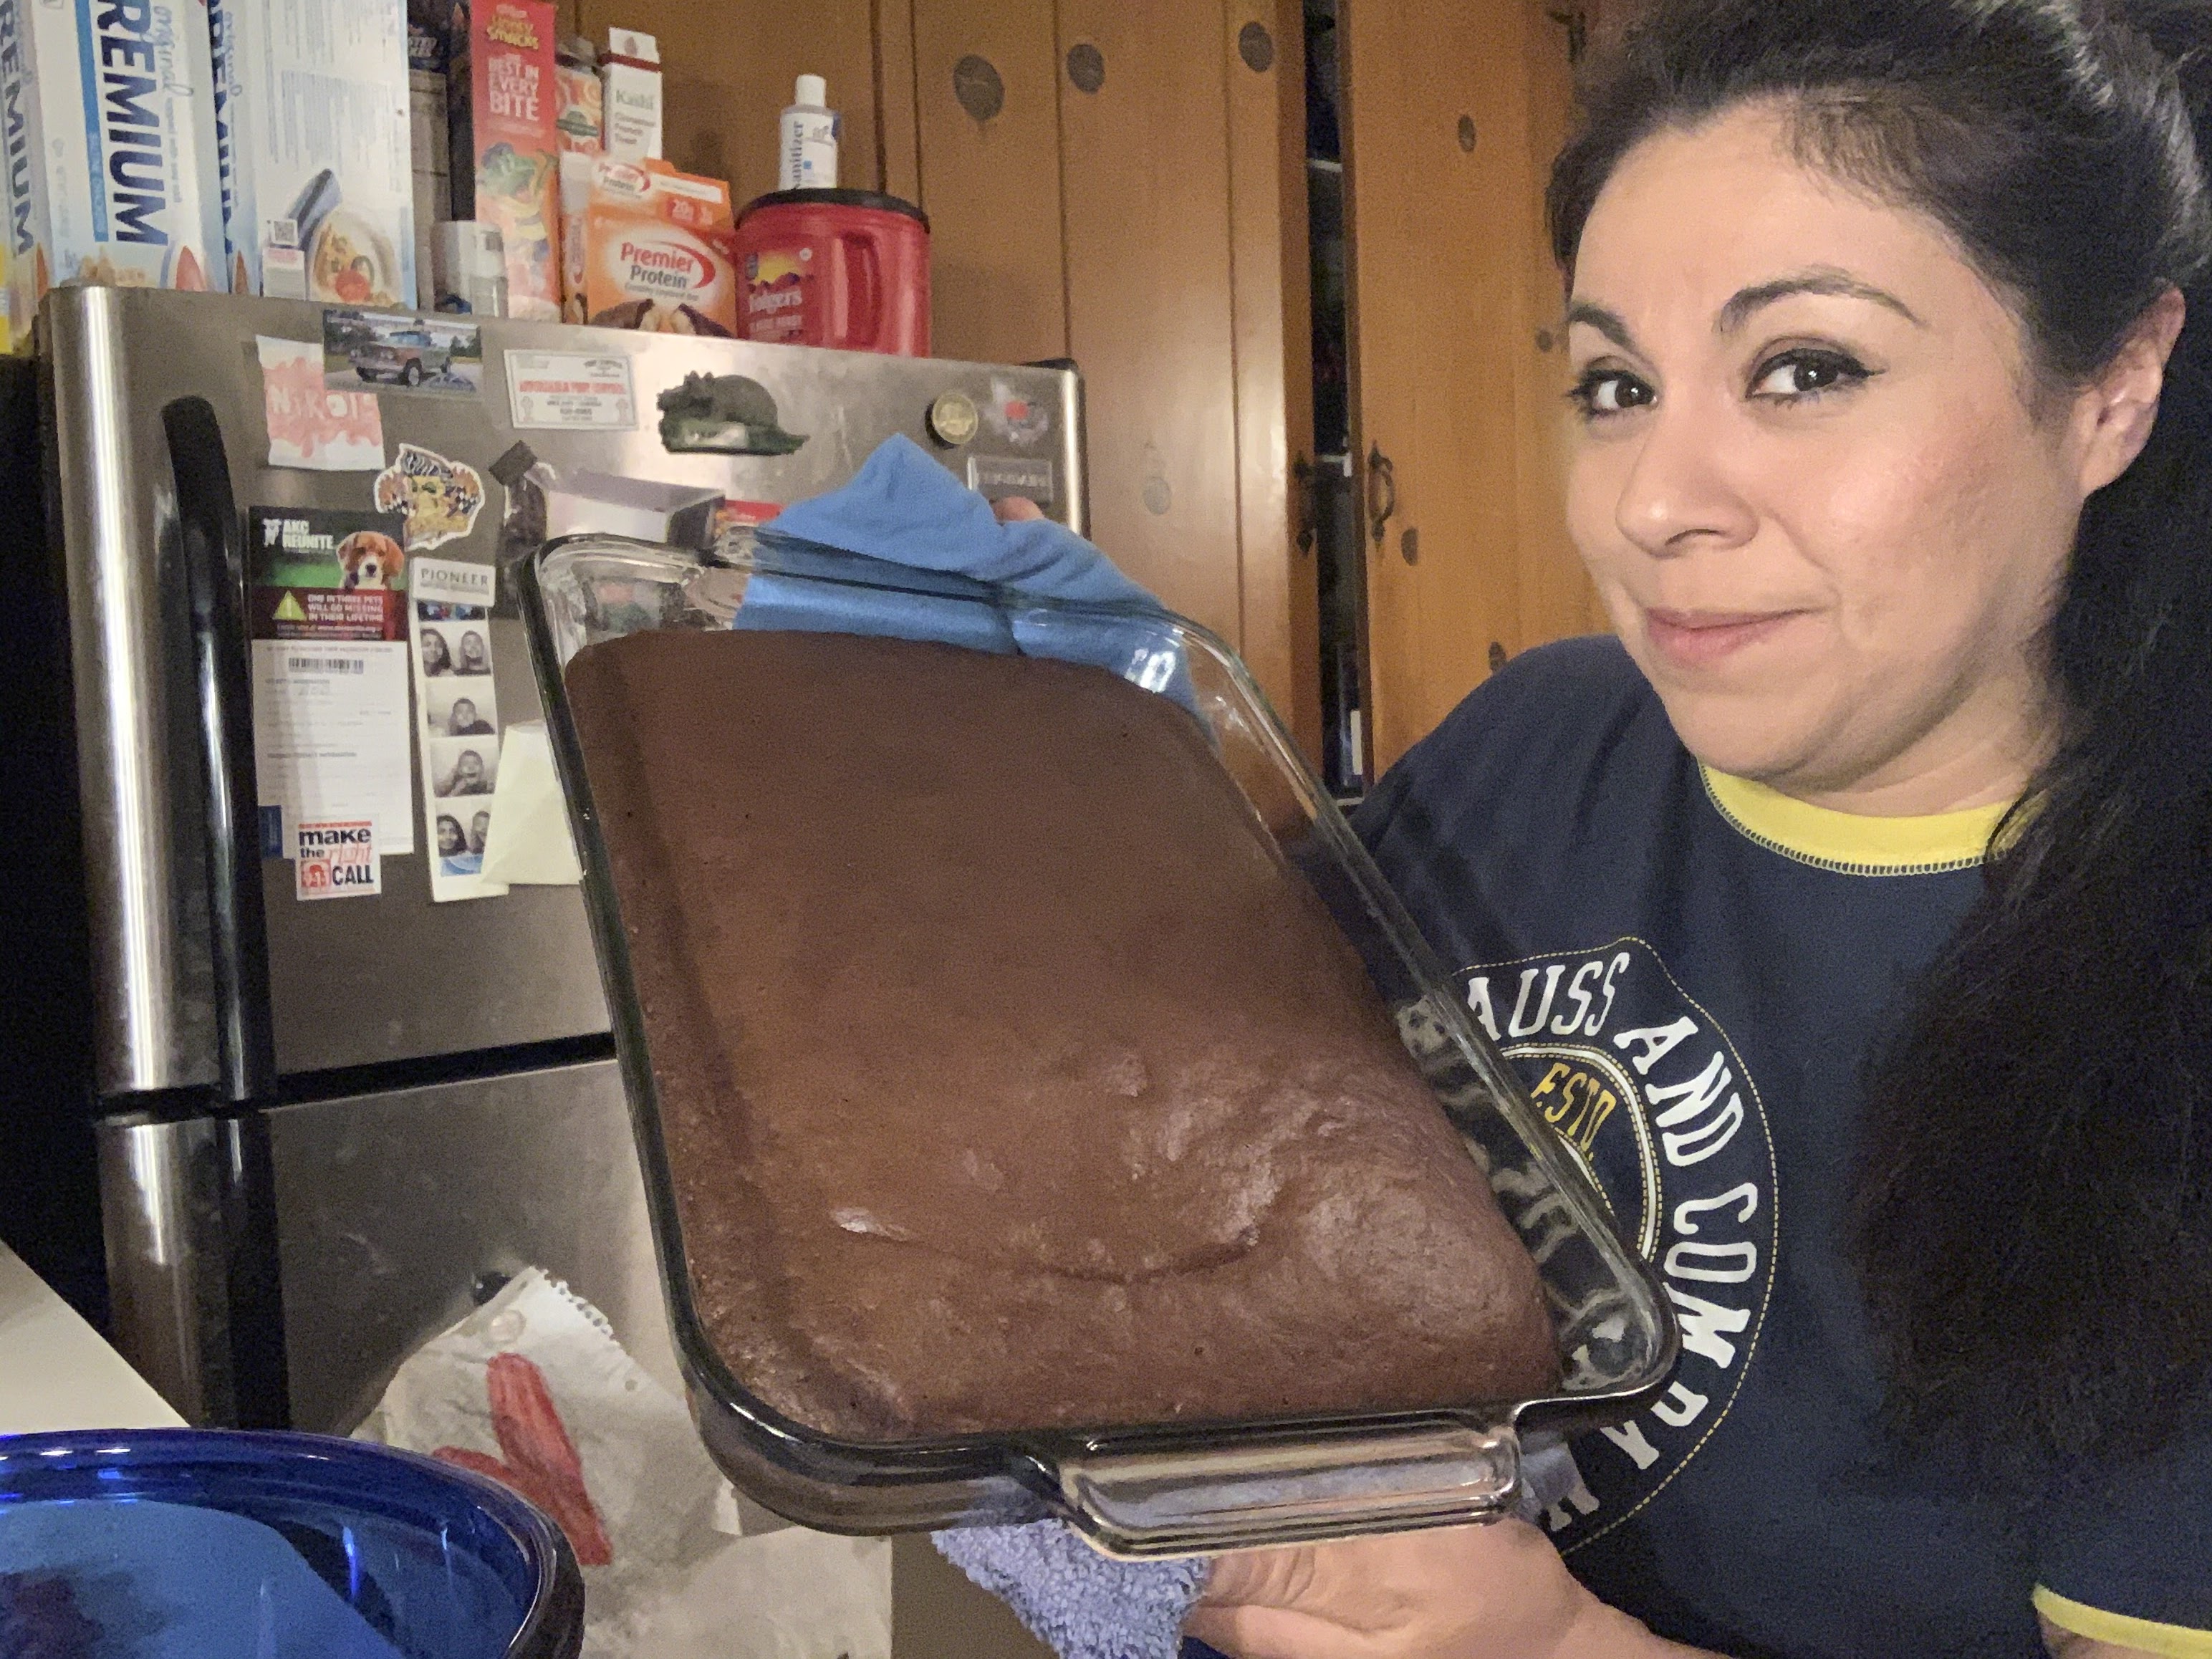
While I prepared the mix, my kiddo sprayed our glass cake pan with spray-on oil to prevent the cake from sticking. When it was ready, I poured the cake into the pan and placed it in the oven at 350 degrees until it was nice and fluffy.
So far, so good.
We let the cake cool, then cut it into squares and placed it into a clean bowl to be crumbled. Once the cake was completely crumbled, we added two tablespoons of store-bought frosting and thoroughly mixed the frosting into the crumbled cake. When we could grab clumps with our fists, it was time to start making the balls.

Here is what NOT to do:
I had seen somewhere that they used a mini ice cream scooper to scoop out the mix and, with two scoops created a ball. Unfortunately, I didn’t have a mini ice cream scooper because I forgot to buy one, so I improvised and used a 1 ½ tablespoon measuring spoon. This worked out pretty well, but the cake balls were kind of large.

In hindsight, this was probably my first fail, but I’ll explain why in a moment. After the balls were formed, we placed them into the freezer while we worked on the chocolate.
Next, we tried to melt the white chocolate. Again, everything we saw said to use a double boiler. Not having one of those, we decided to improvise by placing a smaller pan inside a semi-water-filled larger pan. In our minds, this was basically the same concept.
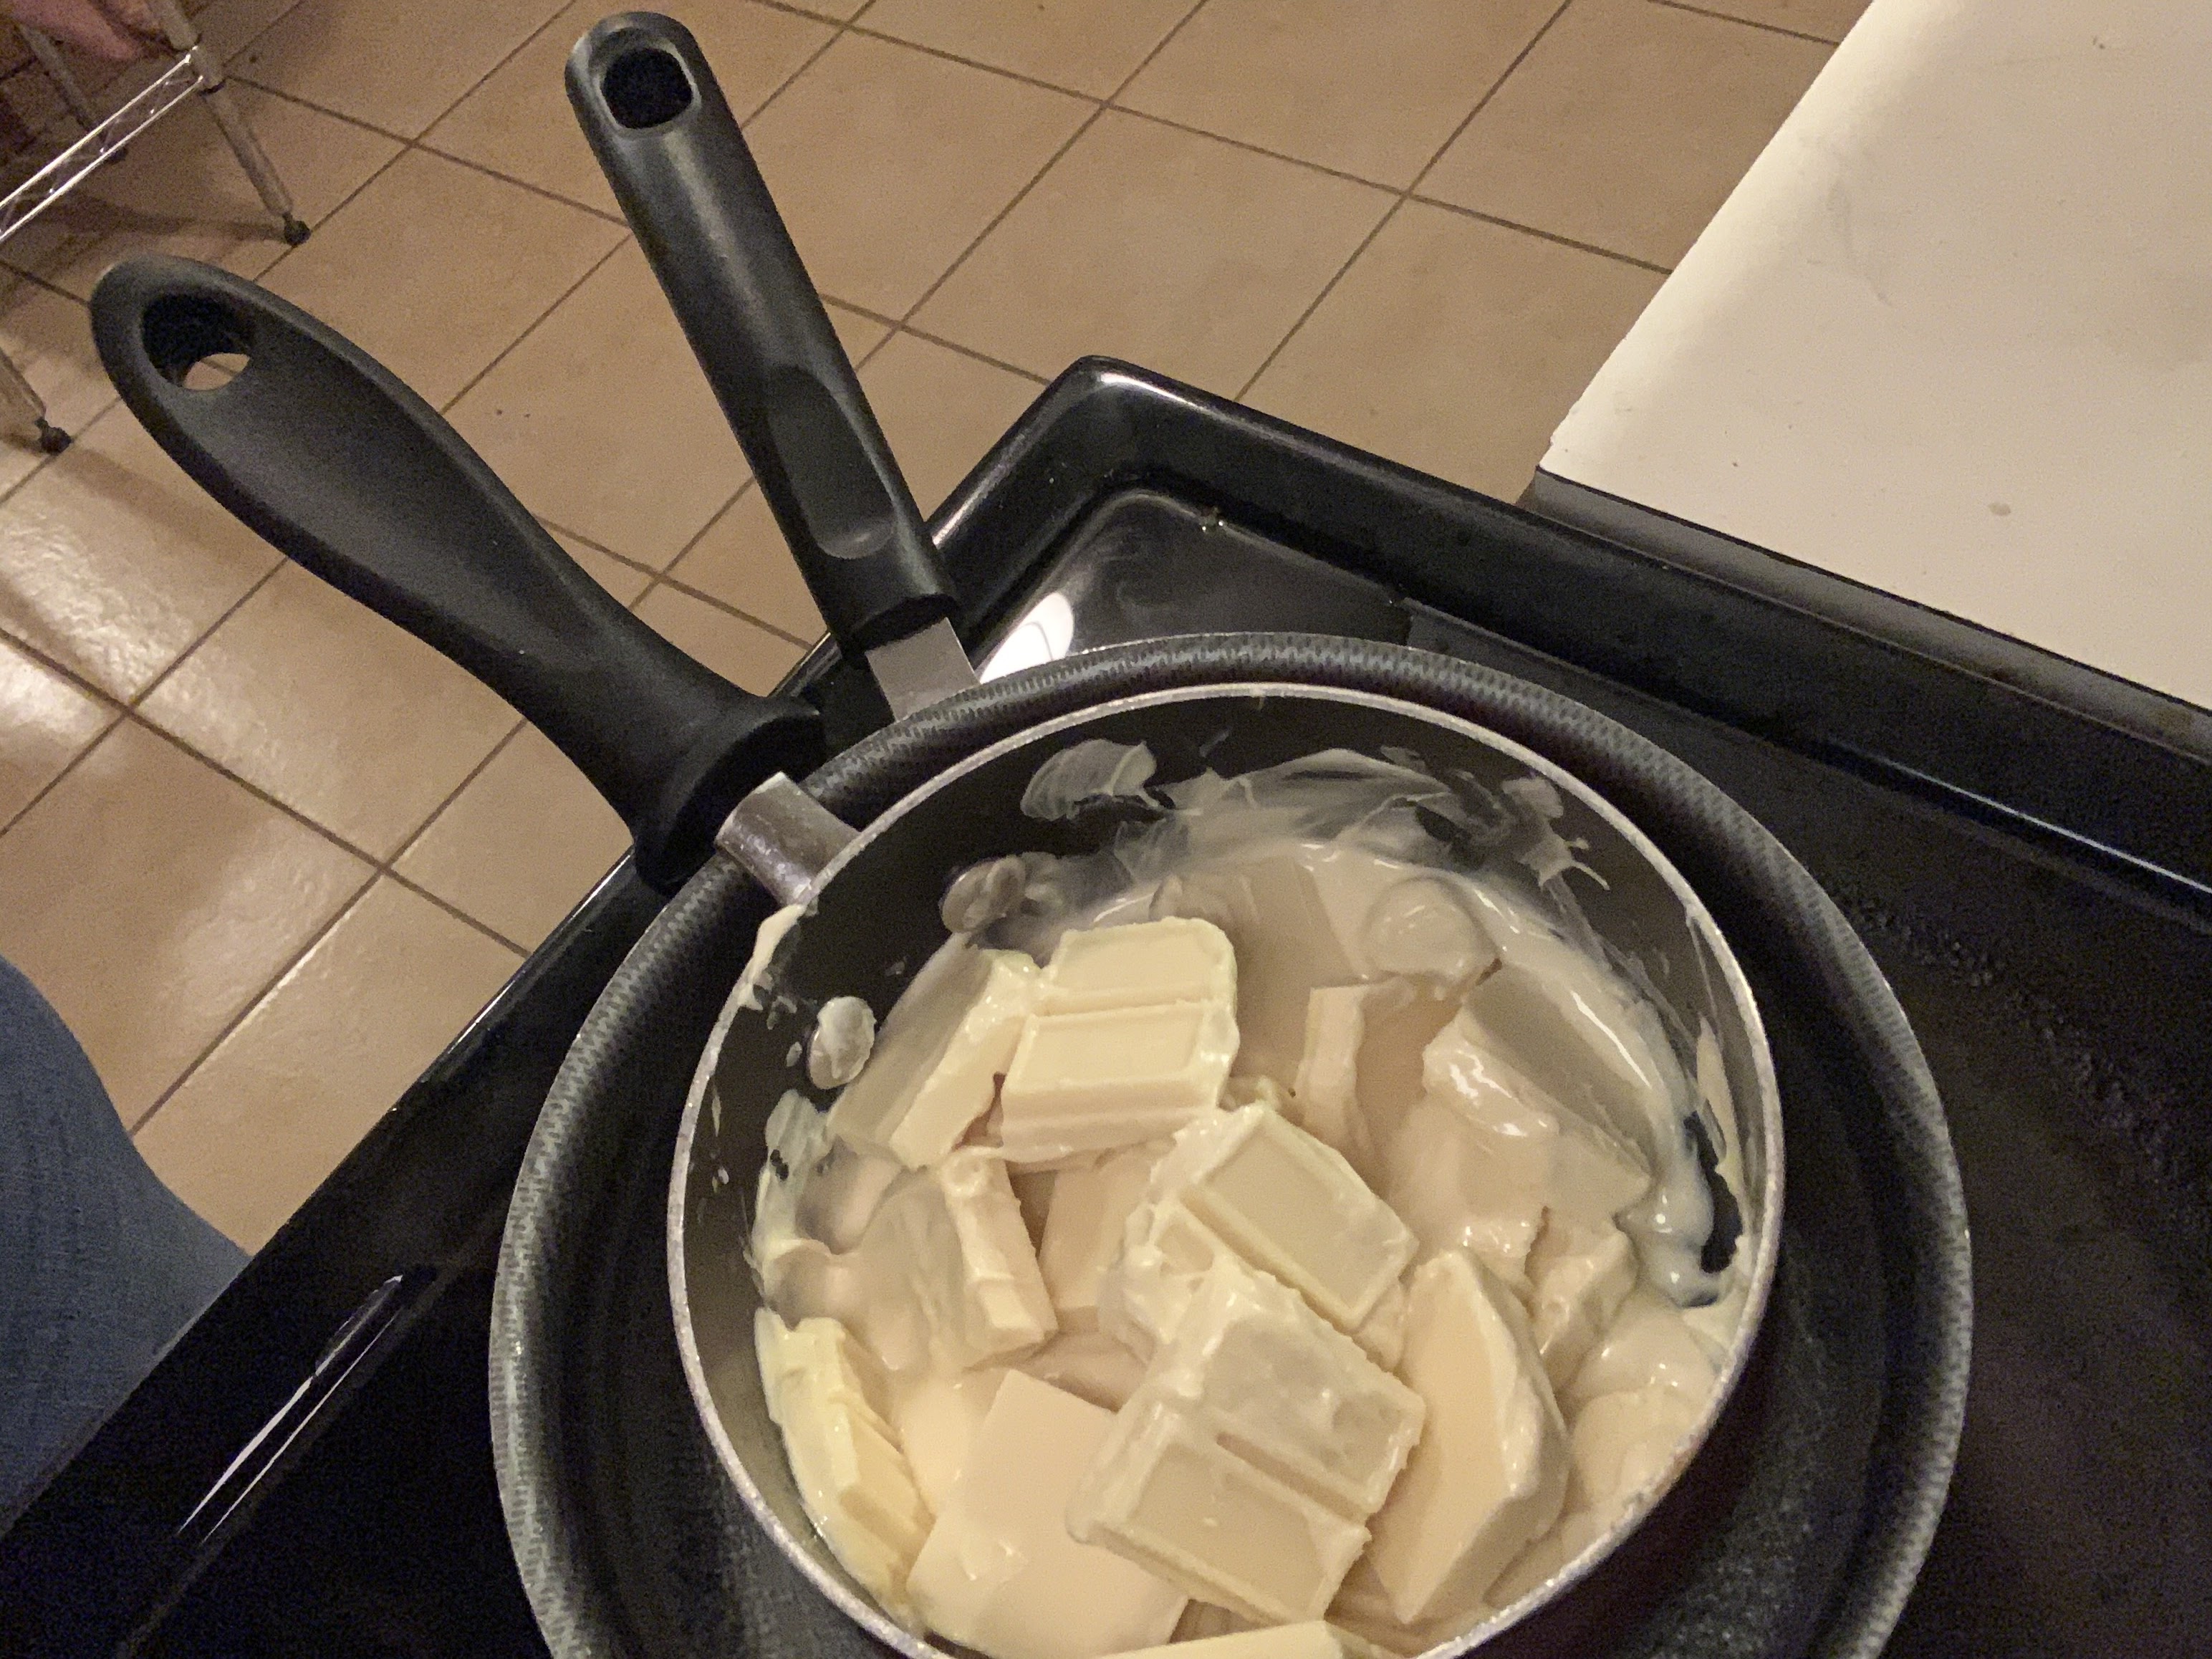
AND, because I thought melting chocolate worked like anything else, I added a small amount of oil to the bottom of the pan to keep it from sticking.
Only...it didn’t melt. I mean, it did, but it did NOT melt into the nice thin creamy white chocolate that we could dip the cake pops into. So we added a little bit more oil to see if this would help it melt and become creamy.
This failed...So, my husband suggested that perhaps we got the wrong type of chocolate. I didn’t think that was the case, but he went to buy a different kind of chocolate while I continued to attempt to salvage the white chocolate we had. Instead, I completely ruined it, and it settled into a thick clumpy oily mess.

Well, by this time, my husband had returned from the store with packages of white chocolate chips. We attempted the same process and had better results. The chocolate chips melted into a nice thick creamy chocolate.

You would think this would be the end of a happy story...but it’s not.


We were super excited because this time, the white chocolate was creamy. My daughter quickly dipped the end of the sticks into the melted white chocolate, pushed them into the cake balls, and re-froze them.

Confident it would work, this time we added in a little food coloring and stirred, but the chocolate had started to thicken again.
We reduced the heat on the stove even lower, and since the cake pops had been freezing for a little over 5 minutes, we yanked them out and proceeded to attempt to dip them.
This is where I feel like their size and weight had a negative effect. I dipped the first ball, and it didn’t come back out. It was stuck in the chocolate and had slipped right off of the stick.

We had several fell apart in our attempt to pick them up with the sticks. Finally, we resorted to spooning the white chocolate onto the cake pops.

This was the only one that resembled a cake pop.

I think this one will go down as a fun family fails, and we will leave the cake pops to the professional.
Takeaways:
Should I ever attempt this again, or if any of you all decide to attempt making cake pops, here are a few suggestions.
Master the chocolate melting
I didn’t do too much research on this, and it was an epic fail.
Definitely do your research.
Perhaps invest in an actual double boiler
Make the cake pops a bit smaller
Work fast.
Practice, Practice, Practice.
And HAVE FUN!
Check out my Youtube Channel, “Maine’s Mind,” for a video of our fail coming soon and other great videos. Be sure to like and subscribe!
Comments
Post a Comment